Hoisting the Growing Medium (GM)
Following the installation of the edge railing, the next layer to be installed was the drainage layer. It was the same highly porous open weave material as was use don the kitchen roof. It cuts with scissors and is laid with the grey filter fabric side facing up.
The next layer was a double layer of the water storage cloth. While the open areas are pretty straight forward, the multitudinous corners took a lot of dovetailing and other finessing to ensure that there were no pathways for the GM to sluice through.
Wide spaces are quick and easy : two layers set perpendicular to each other.
Corners take a lot more finessing to ensure double coverage.
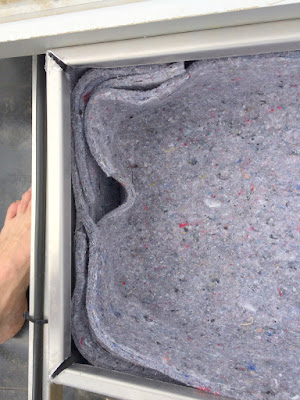 |
| Corners are quite time consuming and fiddly. |
And then the BIG DAY comes ... to hoist the growing medium.
It's a big day because this was the first of only two tasks that I could not do myself. I needed heavy machinery and operators. The GM was delivered in 1 cubic yard totes, each weighing about a ton. In hindsight we were lucky to not be using the SOPREMA GM which is delivered in 4 yard totes - destined for large areas like condo and factory roof tops.
Growing Medium is NOT soil.!! No one says what is really in GM, but Xeroflor describe it as a proprietary mixture of lightweight, mineral based materials; including porous aggregate and
organic matter derived from composted plant materials. It is more mineral than organic, so it won't break down and disappear to quickly like soil would. Our GM had a noticeable red hue to it from crushed brick material.
The sizing of the GM was in the grit to fine gravel range. All sub- 3/8". Very little in the clay-silt-fine sand sizings. Not all all well sorted.
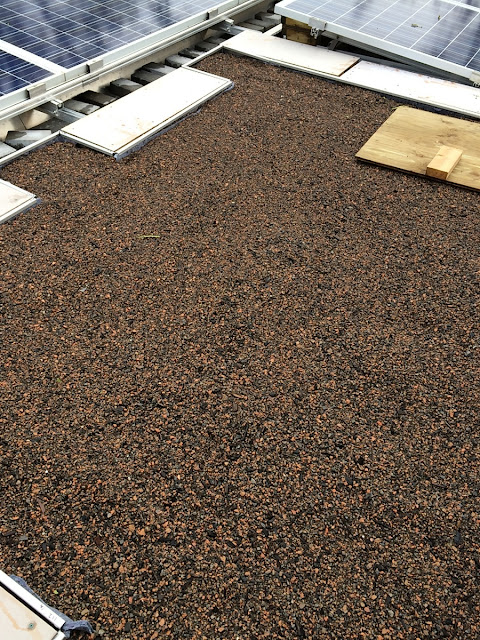 |
Here is a post -hoist photo of rain-washed growing medium. It has a distinctly red hue from the crushed brick component. |
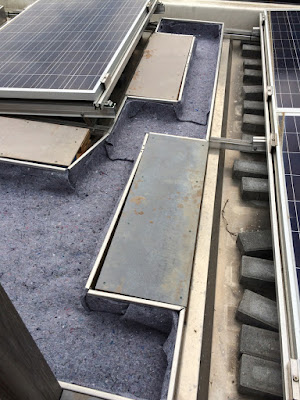
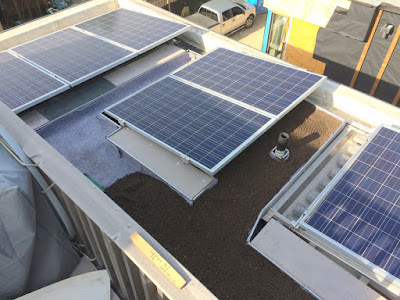
In our installation we planned to use a 4" (100 mm) layer on the main roof, amongst the solar panels, with a 6" (150 mm) layer of GM being used on the roof of the 3rd storey walkout.
Why 1 ?? Because that's all we could reasonably hold within the structural limitations of the roofs.
Why 2?? Because a thickness of GM would provide additional water storage to reduce the frequency of watering.
Why 3?? Because we might elect to broadcast some native plant seed next spring, and they grow better (more reliably) with some GM into which they can stretch their roots.
Then the issue is how to move about 6 cubic yards of this stuff up 25 (8 m) or 35 ft (11.5 m). My back was not that strong. However Lino's loader was.
Our neighbours were building a home and friend Lino, the framer, had a "zoom boom" that was rated for 1 ton up 42 feet.
 |
| Lino's "zoom boom" without which we would have been skunked, and substantially poorer. |
Lino is always good for a challenge, and came over in the evenings to help out.. We put totes destined for the highest roof 35 ft (11.1 m) onto a pallet and then hoisted it over the edge of the roof. The totes for the main roof, at its lower elevation of (only) 25 fee,t were hoisted by their own straps.
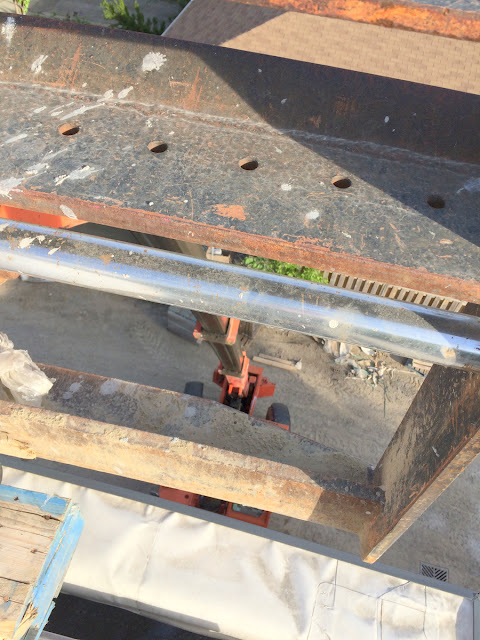 |
| The active end of Lino's loader, from the top, down about 30 feet.. |
I then cut away the side or bottom of the tote so its contents fell gently into a temporary hopper. From there we shoveled it out around the roof with snow shovels, raking it into place but not compacting it particularly.
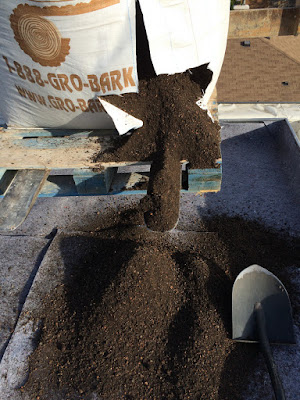 |
| GM spilling gently onto the 3rd storey walkout roof. |
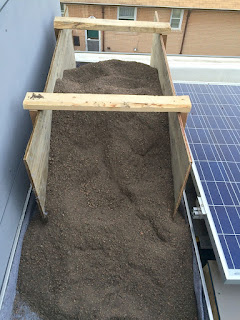 |
Temporary hopper that holds about a yard of GM . We then shovelled it around the roof with grain / snow shovels
|
 |
| Getting started. |
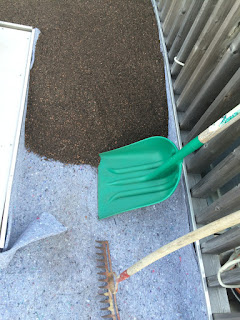 |
| Vital tools |
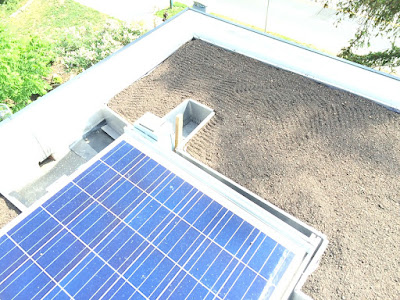 |
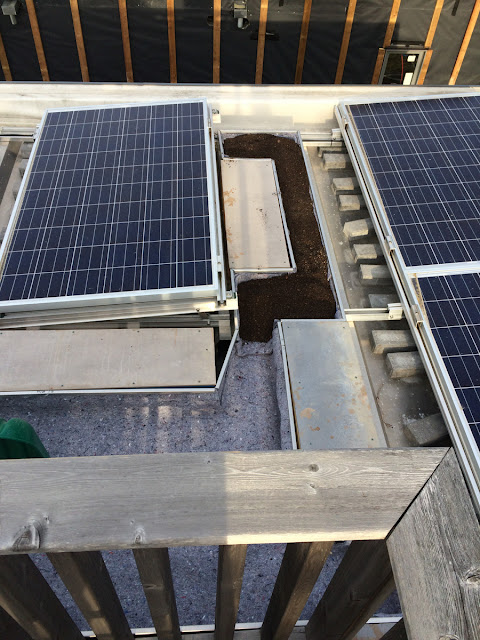
This funny looking jut-out is to provide space for the adjacent electrical control box to be opened. It has the circuit breakers for the individual chains of solar panels and might be needed for SP maintenance: assuming you can still open it. |
 |
Almost there.
|
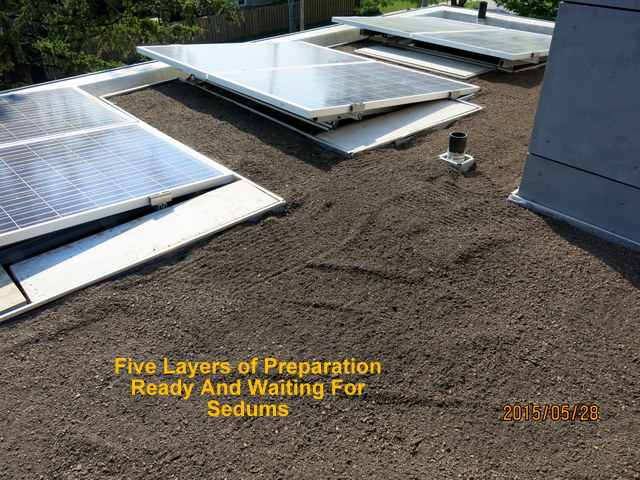 |
Finished, ready for the living layer.
The GM is finished off about an inch below the top of the edging, by design.
Raked, but not compacted. |
What does hoisting cost?. Depends!. Buddy rates are negotiable.
Commercial rates for a crane truck that could lift 1 ton about 40 feet "up" and 10 feet traversely ("over") run about $165 per hour (Ontario, 2014) : four hour minimum, including all travel time.
Our dilemma was that we could not hoist all 6 yards in the same session as we did not have places to temporarily stage them within reach of a regular crane truck. In the end we did it in 3 separate sessions based on 3 different staging areas.
A substantially bigger machine would have been needed to increase the dimension of the traverse distance covered. We needed to hoist 1 ton 30 feet horizontally at 40 feet vertically. A bit of a challenge $$$$$$!
Friend Lino and his marvellous lifter fitted the bill wonderfully.


